This guide provides instructions on how to create a job schedule in SEAtS for the automatic generation of reports. By setting up a job schedule, you can have reports run automatically at designated intervals. This configuration is done within the Admin site.
Users must have the appropriate access profile permission for Job Schedule — including the ability to access, edit, delete, and add job schedules — to utilise this feature.

Instructions
- Log into the Admin site
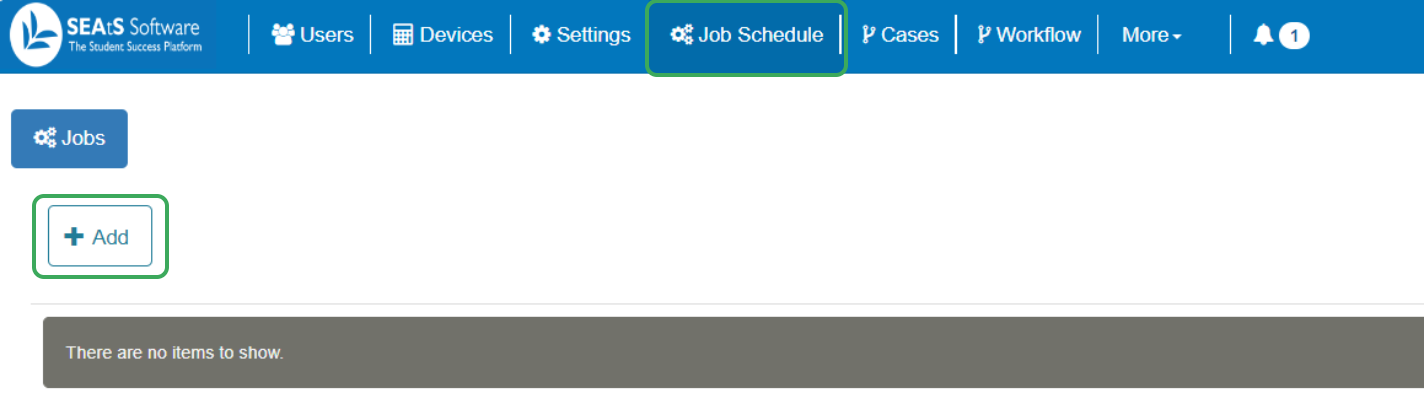
- Click on Job Schedule on the menu bar
- Click on Add
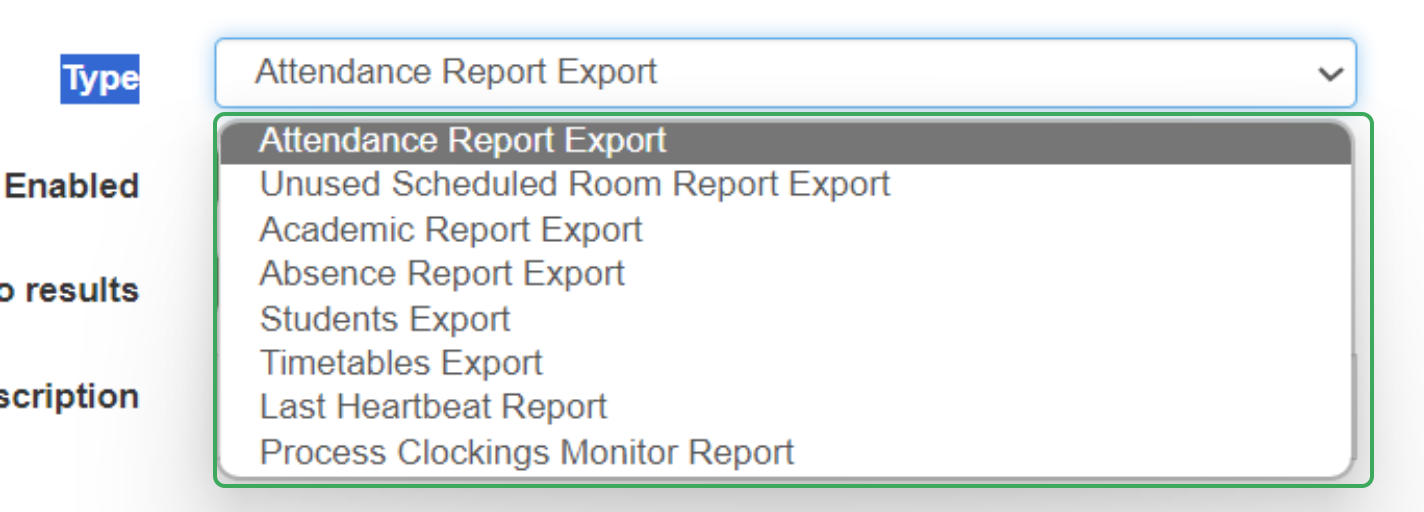
- Select the Type of report you wish to set a schedule for, from the drop-down list provided
- Ensure Enabled is toggled to ON (this will be the default)
- Select whether to Generate the Report if there are no results (default will be ON)
- Add a Description if required
- Select the Frequency and time for the report to be generated
- Click Save once all the criteria and parameters have been completed
The Advance checkbox allows the user to write the frequency fields as a Cron Expression. Each report will have different parameters that can be defined.
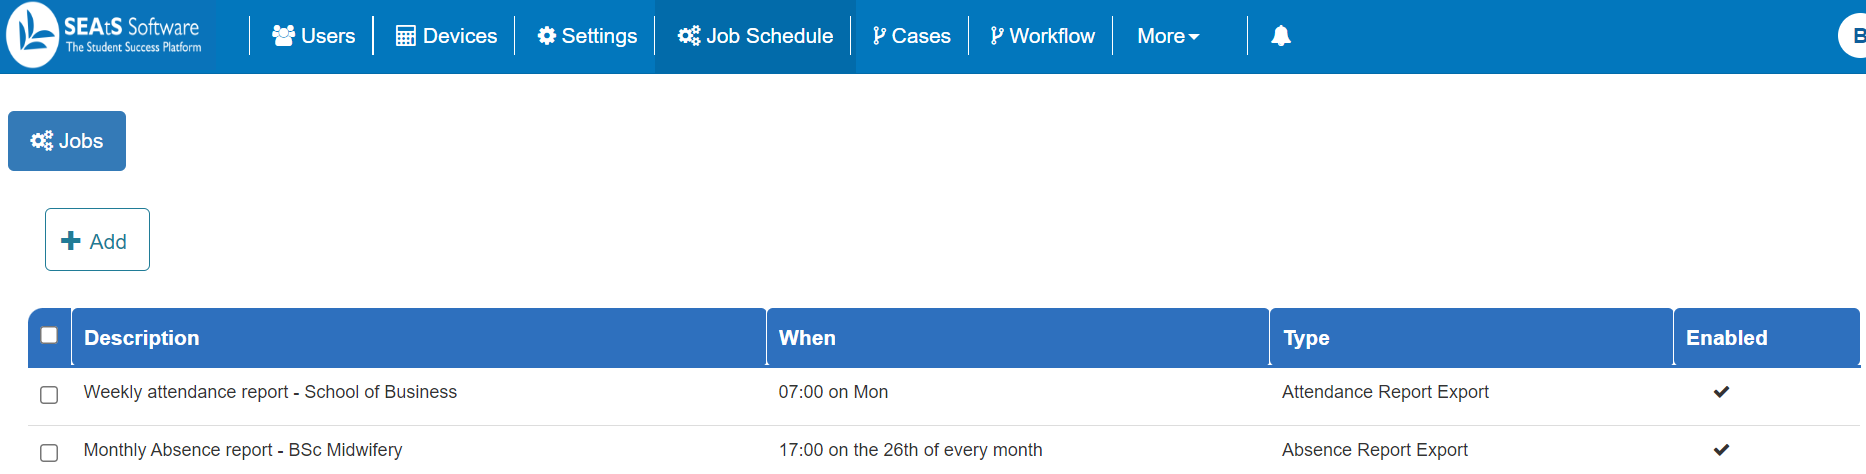
The report job schedule will be saved and will run automatically at the set frequency.
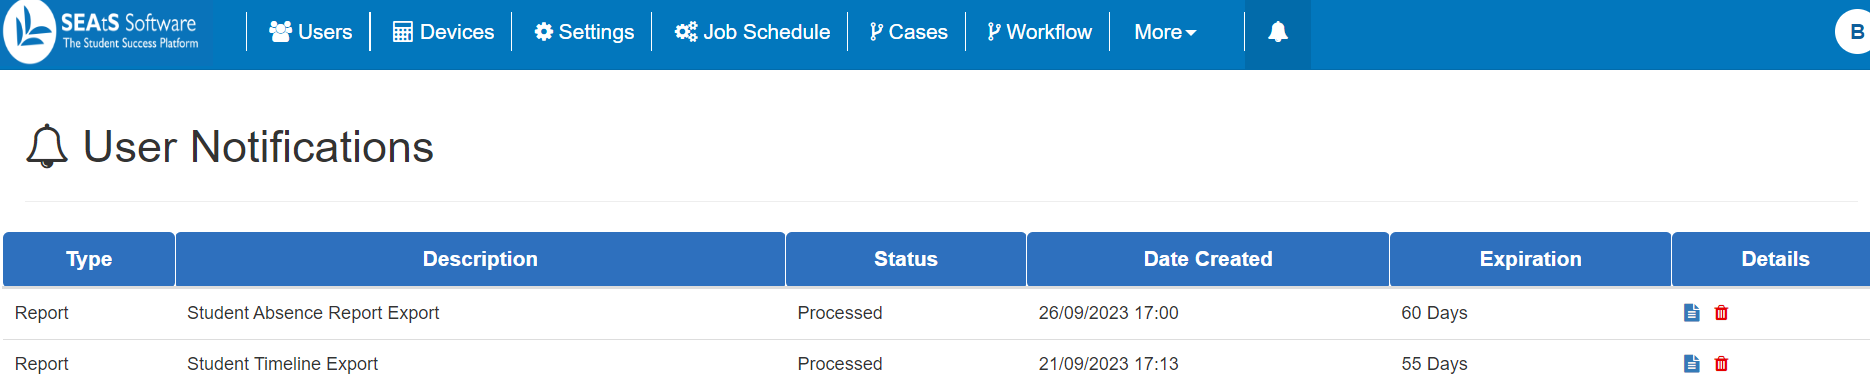
Once a report is generated, you receive a notification in the User Notifications area indicating that the report is ready for download. Additionally, an email notification will be sent.
Clicking on the blue File icon will download the report. Clicking on the red Bin icon will delete the report. Generated reports expire after 60 days and will be removed from the User Notifications area after this time.
Last Heartbeat Report
One report of particular use for customers who use card readers as a method of attendance capture is the Last Heartbeat report. This report alerts admins of any readers that are possibly offline, with the added advantage of adding additional email addresses for notification should a reader be triggered on the report.